


Tips for Using Painter’s Tape
January 3, 2019 at 2:59 pm | No comment | Category: Blog
 Painter’s tape can contribute greatly to the success of your DIY painting project. Use our tips to help you get clean, crisp lines when painting your home!
- Start with good quality tape. Instead of just grabbing the masking tape in the junk drawer, buy painter’s tape that is specifically formulated to protect the surface underneath it. Great quality painter’s tape goes on smoothly and comes off cleanly, keeping paint from leaking onto the molding or wall as you work. Painter’s masking tape comes in several levels of adhesion, including tape for masking over delicate surfaces. Painter’s masking tape is available at hardware stores and paint supply stores, and you can ask the painting professionals if you need help choosing the right one for your specific paint job.
- Wipe down the surfaces before taping. Use a damp rag to wipe down the moldings or wall where you’ll be applying the tape. If you don’t wipe down the surfaces first, the tape won’t adhere well or stay in place while you work.
- If you want to use an applicator, choose it wisely. Most painter’s tape brands offer tape applicators which are designed to help you apply tape quickly and precisely. Before purchasing such an applicator, read the reviews or talk to a professional painter or seasoned DIYer to be sure you’re spending your money on a worthwhile product and not a gimmick. Instead, you can usually, skip the applicator and simply press one end of the tape onto the molding. Then hold the end in place with your finger while you unroll several inches from the roll of tape and press them into place against the molding. Keep the entire roll of tape flush against the wall and continue unrolling several inches of tape at a time, pressing it onto the molding, until you’ve taped along the length of the entire wall.
- Apply lengths of tape in sections that are several inches long. If you apply lengths of tape that are too short (such as 1-inch pieces) or too long (such as 2-ft lengths), it will be very hard to form a straight and smooth line as you go.
- Press the tape into place firmly. As you apply the tape, make sure you’re pressing firmly on the edges of the tape to seal it securely against the molding or wall surface. If the tape does not adhere firmly and fully, paint can leak through onto the underlying surface. Pro painters and DIYers like to angle a putty knife blade along the length of the tape, pressing firmly.
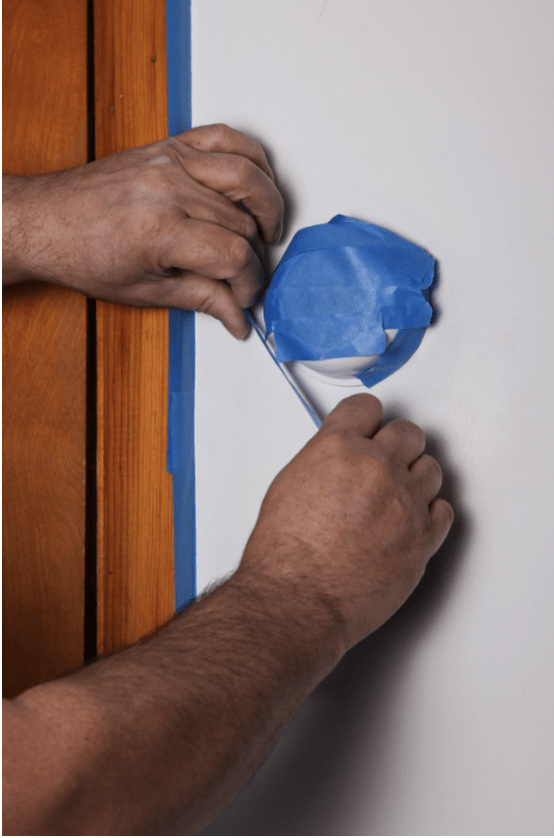
- Tape corners with care. To apply tape in a corner, run the first length of tape across the molding and slightly onto the adjoining wall. Use a putty knife to press the tape firmly into the corner. Then use a utility knife to cut away the excess tape.
- Remove the tape at the right time. When your painting project is done, pull up the tape at about a 45-degree angle to the surface. (This angle will prevent the paint from peeling up with the tape.) If you wait too long to pull up the tape, the adhesion may harden and get stuck onto the underlying surface. Ideally, you’ll either pull up the tape immediately when you finish painting the area, or after approximately 24 hours, giving the paint time to dry but not harden in place. If any piece of tape remains, score it with your utility knife and then remove the piece. This way the tape will come of cleanly without damaging the paint job.
Or, of course, you can skip the hassle with the tape – and the endless list of other prep work that needs to be done – and call the best painting contractor in your area! The Painting Craftsmen is the best professional painting company Jacksonville FL residents trust with their interior and exterior painting projects. We’re the trusted name in Jacksonville, Riverside, Mandarin, and San Marco house painting, and we’d love to take care of your painting project for you!